Menu
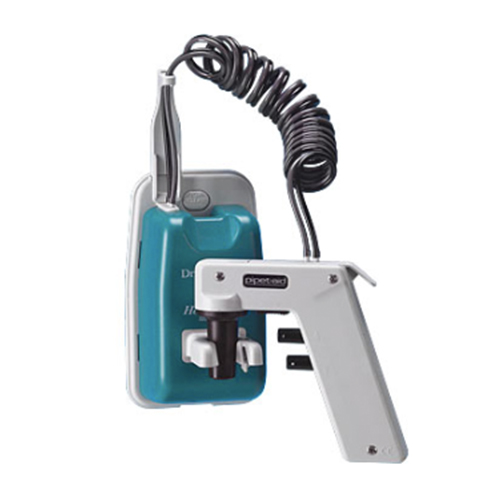
Product Troubleshooting: Pipet-Aid & Nanoject Devices
Review our troubleshooting guides for product information, common fixes, and how to ensure optimal performance for your Drummond Scientific device.

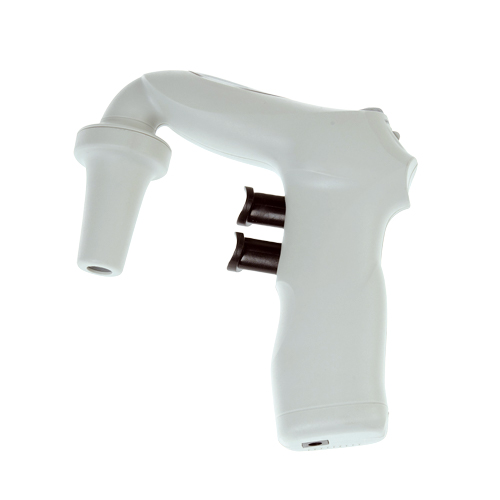
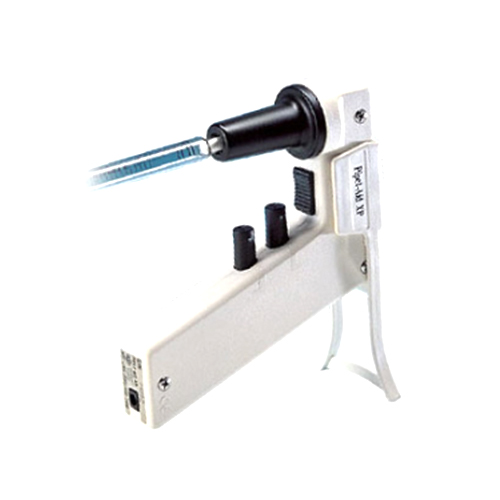
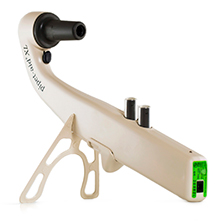
Pipet-Aid Model
Problem | No Aspiration | No Aspiration | Pipette leaks after filling | Fill/Empty very slow, but no leaking |
|
Solution 1 | Check valve placed in upside down, black o-ring goes up into the handle. | Check valve in nosepiece needs to be cleaned out. Push wire or paper clip through black o-ring to open up check valve. When opened, rinse float and shell with water or alcohol. Allow to dry and reassemble. Shake and listen for float to rattle. Reassemble into nosepiece and check for aspiration. | Replace rubber insert (4-000-002). | Rubber insert has cotton plugs blocking flow. Clean out cotton plugs or replace rubber insert (4-000-002). |
|
Solution 2 |
| Tubing leading to vacuum side of pump has a hole in it. Cut out hole or replace tubing (4-000-004). | Check tubing for holes. Replace or shorten if found. | Clean out check valve or replace (4-000-003). |
|
Solution 3 |
| Hose connector missing or split. Replace hose connector (4-000-011). | Hose connector missing or split. Replace hose connector (4-000-011). | Buttons in valve body dirty. Clean or replace. |
|
Solution 4 |
| Diaphragm inside pump is split or dried up and cracked. Replace diaphragms (4-000-010). | Diaphragm inside pump is split or dried up and cracked. Replace diaphragms (4-000-010). |
|
|
Problem | No Aspiration | No Aspiration | Pipette leaks after filling | Aspiration very slow but no leaking |
Solution 1 | Check valve placed in upside down, black o-ring goes up into the handle. | Filter has been wetted. Replace with 4-000-051. | Replace rubber insert (4-000-002). | Rubber insert has cotton plugs blocking flow. Clean out cotton plugs or replace rubber insert (4-000-002). |
Solution 2 |
| TC gasket missing in nosepiece, requires one on each end of filter (4-000-057). | Check tubing for holes. Replace or shorten if found. | Buttons in valve body dirty, clean or replace. |
Solution 3 |
| Tubing leading to vacuum side of pump has a hole in it. Cut out hole or replace tubing (4-000-004). | Hose connector is missing or split. Replace hose connector (4-000-011). |
|
Solution 4 |
| Hose connector is missing or split. Replace hose connector (4-000-011). | Diaphragm inside pump is split or dried up and cracked. Replace diaphragms (4-000-010). |
|
Solution 5 |
| Diaphragm inside pump is split or dried up and cracked. Replace diaphragms (4-000-010). | Poor seal around filter; use Drummond filters (4-000-051). |
|
Problem | No Aspiration | No Aspiration | Pipette leaks after filling | Aspiration very slow but no leaking |
Solution 1 | Check valve placed in upside down, black o-ring goes up into the handle. | Check valve in nosepiece needs to be cleaned out. Push wire or paper clip through black o-ring to open up check valve. When opened, rinse float and shell with water or alcohol. Allow to dry and reassemble. Shake and listen for float to rattle. Reassemble into nosepiece and check for aspiration. | Replace rubber insert (4-000-002). | Rubber insert has cotton plugs blocking flow. Clean out cotton plugs or replace rubber insert (4-000-002). |
Solution 2 |
| Tubing leading to vacuum side of pump has a hole in it. Cut out hole or replace tubing (4-000-004). | Check tubing for holes. Replace or shorten if found. | Clean out check valve or replace (4-000-003). |
Solution 3 |
| Hose connector is missing or split. Replace hose connector (4-000-011). | Hose connector is missing or split. Replace hose connector (4-000-011). | Buttons in valve body dirty, clean or replace. |
Solution 4 |
| Diaphragm inside pump is split or dried up and cracked. Replace diaphragms (4-000-010). | Diaphragm inside pump is split or dried up and cracked. Replace diaphragms (4-000-010). |
|
Problem | No Aspiration | No Aspiration | Pipette leaks after filling | Aspiration very slow but no leaking |
Solution 1 | Check valve placed in upside down, black o-ring goes up into the handle. | Filter has been wetted. Replace with 4-000-051. | Replace rubber insert (4-000-002). | Rubber insert has cotton plugs blocking flow. Clean out cotton plugs or replace rubber insert (4-000-002). |
Solution 2 |
| TC gasket missing in nosepiece, requires one on each end of filter (4-000-057). | Check tubing for holes. Replace or shorten if found. | Buttons in valve body dirty, clean or replace. |
Solution 3 |
| Tubing leading to vacuum side of pump has a hole in it. Cut out hole or replace tubing (4-000-004). | Hose connector is missing or split. Replace hose connector (4-000-011). | Poor seal around filter; use Drummond filters (4-000-051). |
Solution 4 |
| Hose connector is missing or split. Replace hose connector (4-000-011). | Diaphragm inside pump is split or dried up and cracked. Replace diaphragms (4-000-010). |
|
Solution 5 |
| Diaphragm inside pump is split or dried up and cracked. Replace diaphragms (4-000-010). | Poor seal around filter; use Drummond filters (4-000-051). |
|
Problem | No Aspiration | No sound from motor when buttons depressed | Aspiration/ Fill very slow but no leaking | Aspiration slow | Unit Leaks |
Solution 1 | Filter has been wetted. Replace with 4-000-051. | Battery needs to be charged overnight. | Rubber insert has cotton plugs blocking flow. Clean out cotton plugs or replace rubber insert (4-000-002). | Poor seal around filter; use Drummond filters (4-000-051). | Replace rubber insert (4-000-002).
|
Solution 2 | TC gasket missing in nosepiece, requires one on each end of filter (4-000-057). | Battery dead. Replace with (4-000-035). | Buttons in valve body dirty. Clean or replace. | Rubber insert has cotton plugs blocking flow. Clean out cotton plugs or replace rubber insert (4-000-002). | Poor seal around filter; use Drummond filters (4-000-051). |
Solution 3 |
| Listen for slight click when buttons are first pushed. If not heard, microswitch is broken. Replace with wire harness (4-000-046). |
|
| Check nosepiece for tight fit. If loose, replace (4-000-053-A). |
Solution 4 |
|
|
|
| Buttons damaged. Replace (4-000-053-A) |
Solution 5 |
|
|
|
| Handle connector tubing has a pin in hole. Cut out if long enough or replace (4-000-013). |
Problem | No Aspiration | No sound from motor when buttons depressed | Aspiration/ Fill very slow but no leaking | Unit Leaks |
Solution 1 | Filter has been wetted. Replace with 4-000-051. | Battery needs to be charged overnight. | Rubber insert has cotton plugs blocking flow. Clean out cotton plugs or replace rubber insert (4-000-002). | Replace rubber insert (4-000-002).
|
Solution 2 | TC gasket missing in nosepiece, requires one on each end of filter (4-000-057). | Battery dead. Replace with (4-000-035). | Buttons in valve body dirty. Clean or replace. | Poor seal around filter; use Drummond filters (4-000-051). |
Solution 3 | “Fill” button between speed settings. Rotate until you feel it click into place. | Battery damaged by use of non-Drummond charger. Replace battery (4-000-035). |
| Valve body o-rings need to be replaced. Call Drummond 1-800-523-7480 |
|
Problem |
No Aspiration |
No sound from motor when buttons depressed |
Aspiration/ Fill very slow but no leaking |
Unit Leaks |
|
Solution 1 |
Filter has been wetted. Replace with 4-000-051. |
Plug in power supply/charger and use unit while it charges. Use only power supply/charger 4-000-065 (-066 Euro; -066-A Australia; -066-E for UK). |
Rubber insert has cotton plugs blocking flow. Clean out cotton plugs or replace rubber insert (4-000-002). |
Replace rubber insert (4-000-002). |
|
Solution 2 |
TC gasket missing in nosepiece, requires one on each end of filter (4-000-057). |
If battery will not hold a charge replace with new battery, (4-000-036). NOTE: Not the same battery as in the other portable units. |
Buttons in valve body dirty. Clean or replace. |
Poor seal around filter; use Drummond filters (4-000-051). |
|
Solution 3 |
“Fill” button between speed settings. Rotate until you feel it click into place |
|
Valve body o-rings need to be replaced. Call Drummond 1-800-523-7480 |
|
|
Note: Always use the white charger/power supply (except for Australian models (4-000-205-A)). |
||||
Problem | No Aspiration | Unit Leaks | No sound when handle removed from cradle | Aspiration/Fill very slow, but no leaking |
Solution 1 | Filter has been wetted. Replace with 4-000-051. | Replace rubber insert (4-000-002).
| Actuator button is stuck in the down position. | Rubber insert has cotton plugs blocking flow. Clean out cotton plugs or replace rubber insert (4-000-002). |
Solution 2 | TC gasket missing in nosepiece, requires one on each end of filter (4-000-057). | Poor seal around filter; use Drummond filters (4-000-051). |
| Buttons in valve body dirty. Clean or replace. |
Solution 3 | “Fill” button between speed settings. Rotate until you feel it click into place. | Valve body o-rings need to be replaced. Call Drummond 1-800-523-7480 |
|
|
Problem | No Aspiration | No sound from motor when buttons depressed | Aspiration/ Fill very slow but no leaking | Unit Leaks |
Solution 1 | Filter has been wetted. Replace with 4-000-051. | Unit needs to be recharged. Plug in power supply/charger and use unit while it charges, use only power supply/charger 4-000-065 (-066 Euro; -066-A Australia; -066-E for UK). | Rubber insert has cotton plugs blocking flow. Clean out cotton plugs or replace rubber insert (4-000-002). | Replace rubber insert (4-000-002).
|
Solution 2 | Open the nosepiece cover and make sure the translucent tube is under the front cover hold-down clip. If not, pinching of the tube will cause slow or no aspiration. |
| Buttons in valve body dirty. Clean or replace. | Poor seal around filter; use Drummond filters (4-000-051). |
Solution 3 | “Fill” button between speed settings. Rotate until you feel it click into place |
|
| Valve body o-rings need to be replaced. Call Drummond 1-800-523-7480 |
Note: Always use the white charger/power supply (except for Australian models (4-000-501-A)). | ||||
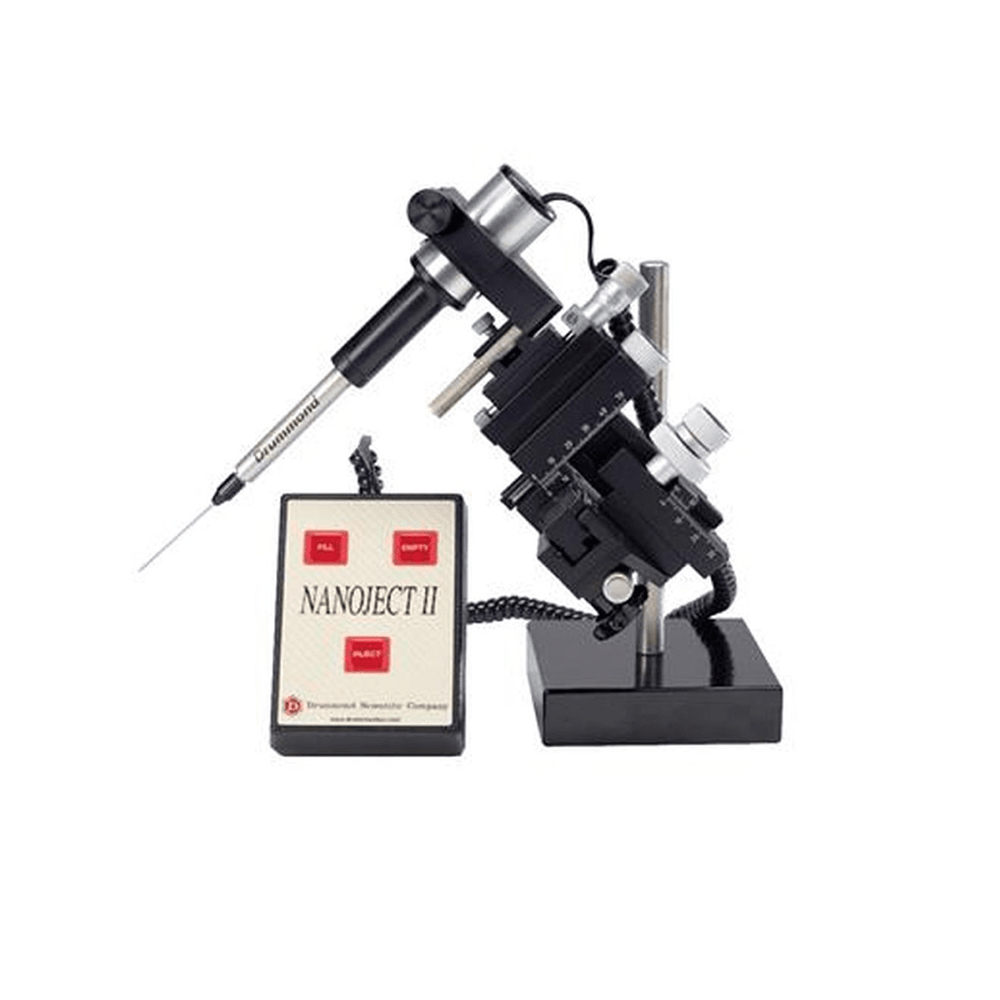
Nanoject II & 3 Models
Nanoject II Troubleshooting Guide
Need assistance with the the Nanoject II (3-000-204/205A/206A)? Download the troubleshooting guide that offers solutions for common issues. For further assistance, please contact us directly.
Nanoject 3 Troubleshooting Guide
Need assistance with the Nanoject 3? Download the Nanoject 3 (3-000-207) troubleshooting guide that offers solutions for common issues. For further assistance, please contact us directly.
© 2026 Drummond Scientific Company. All Rights Reserved